At first: I use expanding foam from cans and I always choose the cheapest ones. My home depot is "Obi", but expanding foam is a base material for home building so you'll find it in every other home depot.

Better buy too much than too less cans. I mostly buy something between 5 and 10 cans and hope that it will be enough for the next days, he he. Shake it well before you start to work with and cover your ground with a sheeting or something else. You will be not happy when you get this stuff on your clothes, your carpet or your floor.
Then, you have to know that it can be difficult to find the right form in the carving progress. It's easier if you have a help. I draw my form on card board, cut it out and then I cover it with expanding foam.

You have to wait some hours until the foam gets dry and you are able to carve it. If you spray a bit water at the foam then this process will be accelerate.
When it's finally dry you can go to work. For carving I use normal cutter like this:
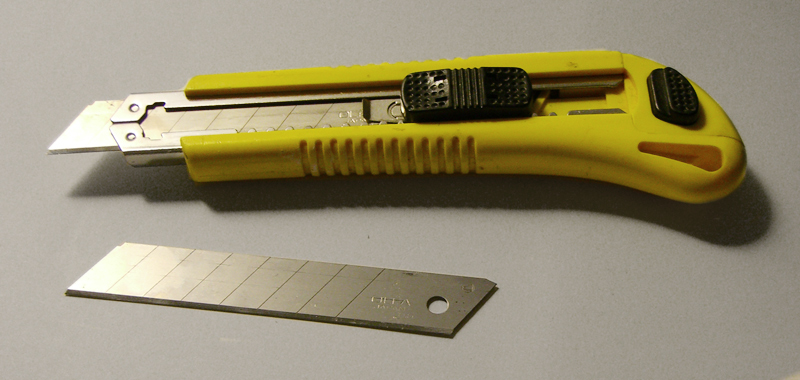
It's better to buy cheap ones and a lot of them. Sometimes I need about 10 or 20 cutter for a project, because I cut in foam when is still not dry inside and the cutter gets dirty and sticky. I clean them after half an hour or change them because they are not sharp anymore after too much carving.
When you start with carving try to carve a clean surface at first. Try to find your final form and search for the grey board inside. I cut some time as deap as I can inside of the foam and then I cut everything I not need away. It's better to split a complicated form in more work steps. As you can see I also carved at first only the head of my staff.

Then I added further foam to carve the horns and the spikes on it's back. Here my fault was, that I was just too lazy to add some card board inside of the new foam. So it was a bit hard to find the right way to carve it. Later I noticed, that I also need card board for stabilisation. The foam itself is very breakable and for smaller parts a finishing layer of newspaper and paper mache wouldn't be enough to save it from damage.

Here you see the finished carved foam. I guess I needed about 10 cans for this result. Mostly only 30 % of your sprayed foam is for your prop itself. The rest is dirt. A lot of dirt!

He he, I don't like trash bags so much. :)
Here is a other example for the right use of card board inside:

You'll find card board inside of the eagle head and the spikes. By carving such little details it's almost impossible to disclaim for help.
If you're done with the carving step we have to speak about the 3 final layers to save the foam inside: Masking (or painters) tape, pieces of newspaper and paper mache.

Here you see all 3 layers. But why do you need them?
Masking tape (or crepe tape or painters tape... oh, I hope I finally found the right english meaning!) covers the holes in the expanding foam and gives you a surface to work with. Layers of news paper parts give it a strong, solid and protecting coat. And paper mache makes your surface smooth or give you the chance to carve details or to model something. But try to find your final form while the carving process of the exanding foam. The better your base is, the less you need to model with paper mache and the less is the weight of your prop!

Don't save time for the news paper layer and be sure that it's the most important one!

And be sure, that the paper mache layer will need also a lot of time. I use a hot air gun to accelerate the dry process, but you have to take care if you use it, too. Too much heat and you'll get ulgy air holes inside of your paper mache. So blow-dry a bit until the paper mache gets white (it's grey when it's still wet), then wait until the water inside make it's grey again and keep on drying again. When your prop is finally covered complete with paper mache you can sand it and search for mistakes you have to correct. I use for sanding sand paper and a Delta sander. Then sand and sand and sand and add some details if you want to:

And after some time and patience you can finally paint your prop! Have fun! :)
I hope you understood everthing and if you still have questions feel free to ask!

0 comments:
Post a Comment